
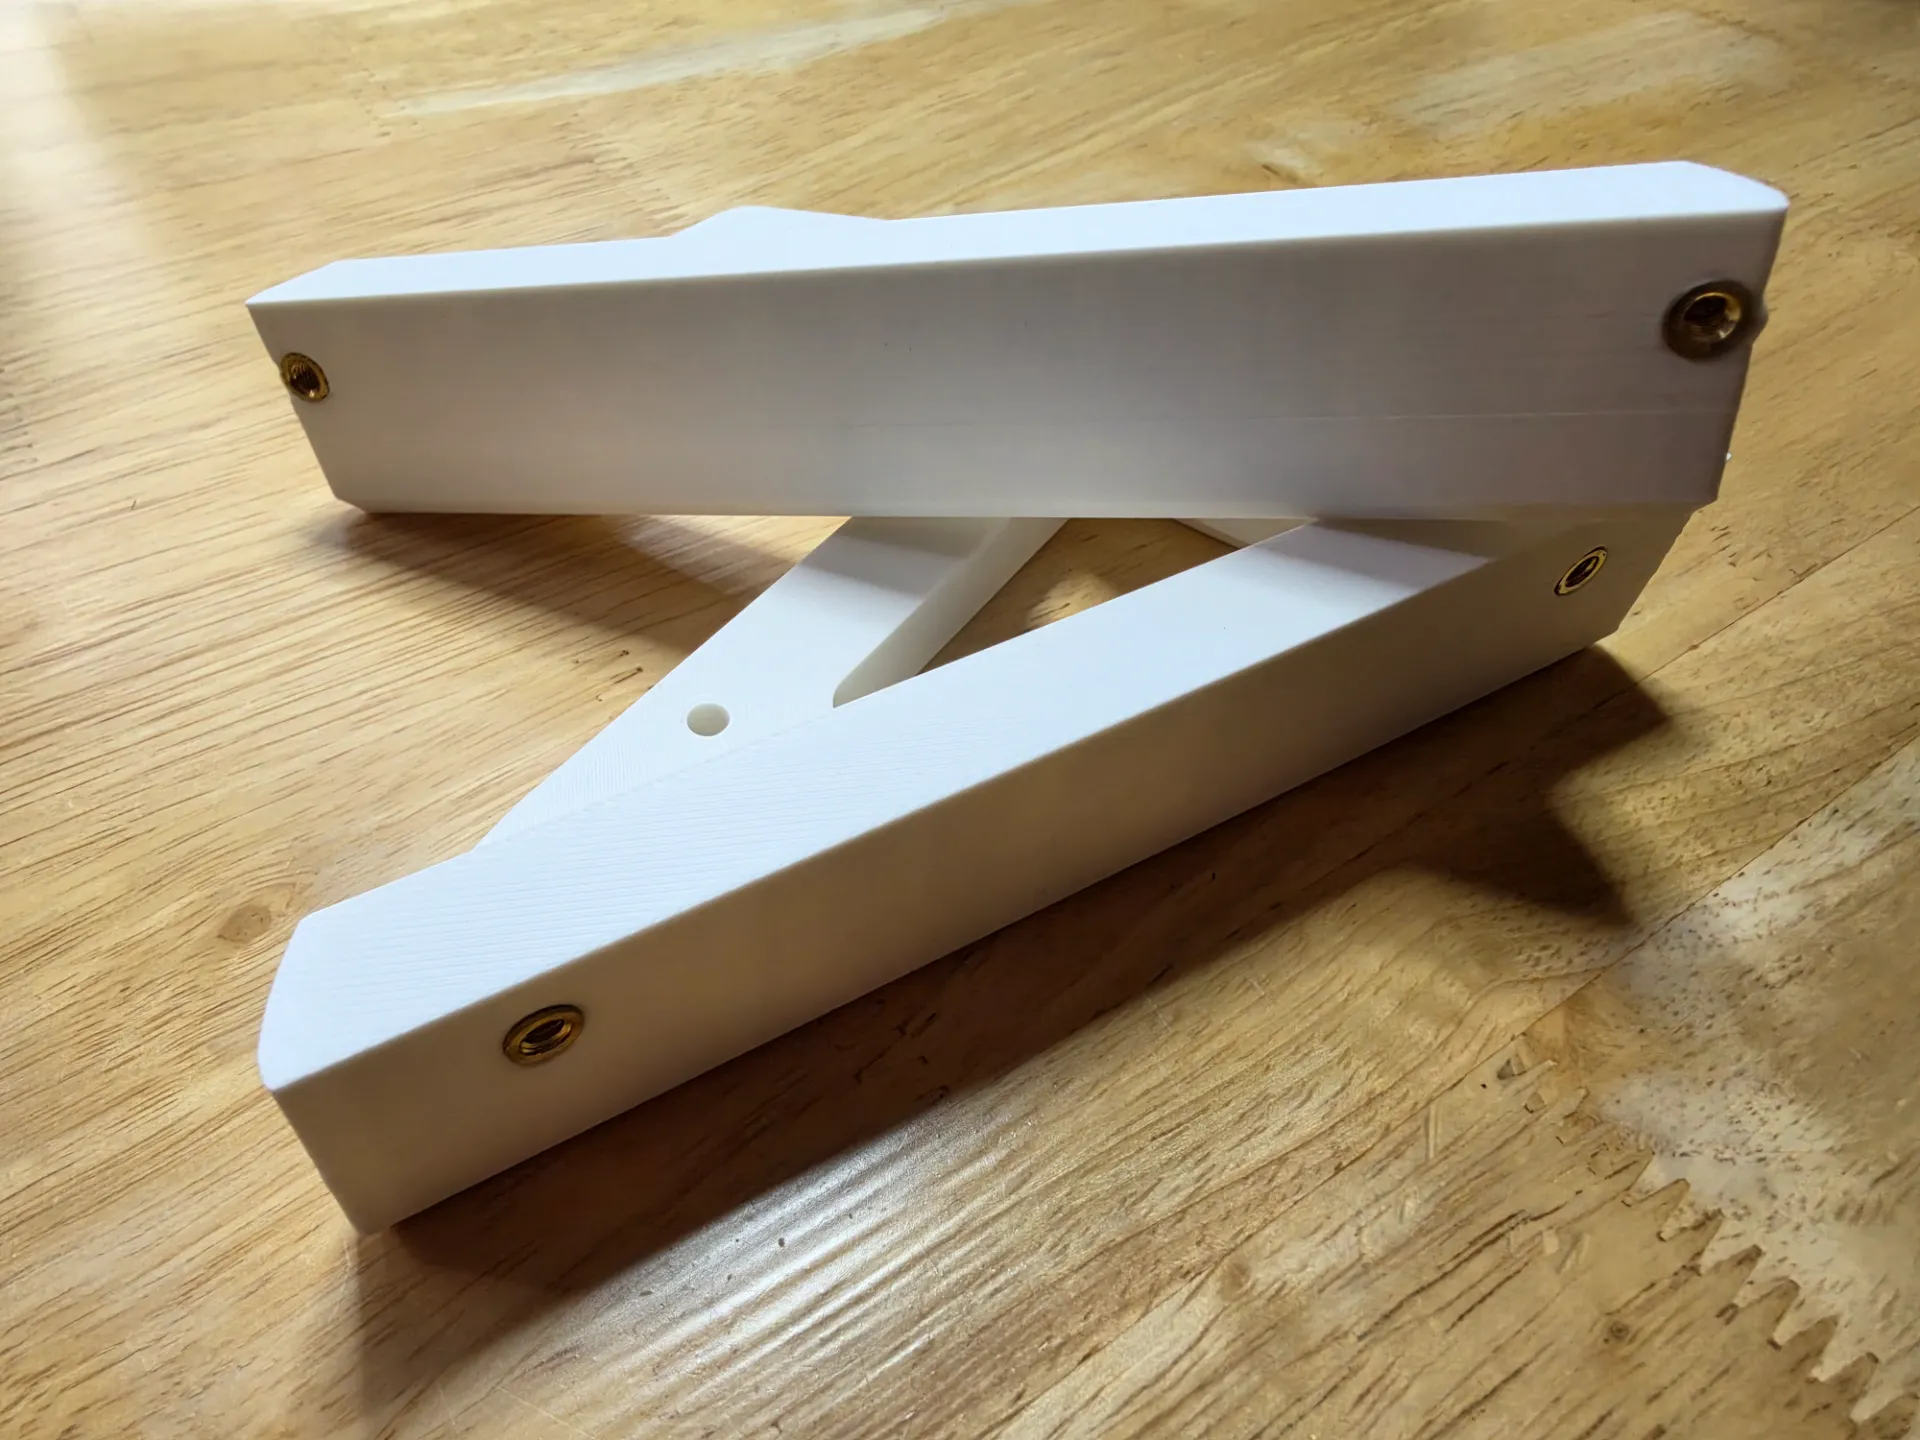
This mount lets you attach the Apolosign wall bracket directly to a recessed electrical box, putting the outlet, power adapter, and excess cable behind the calendar instead of beside it.
Would a normal wall mount have been completely acceptable? Absolutely. Unfortunately, I knew I could make it slightly more acceptable.
Parametric Design
I've made this model parametric, so you aren't locked into my exact dimensions. If your Apolosign has a slightly different mounting-hole pattern or if you want to use the mount with a different display such as a TV, you can adjust the mounting dimensions to fit. You can also modify the dimensions to accommodate a slightly different recessed electrical box. So if your hardware isn't exactly like mine, you shouldn't have to redesign the whole thing from scratch. Visit Widget KC on MakerWorld to grab the parametric version.
What You'll Need
- 6 × M4 × 20 mm bolts
- 4 × M4 nuts
- 4 × M4 brass heat-set inserts
- 1 × recessed electrical box
- 1 × Apolosign Digital Calendar
- The original Apolosign wall-mount bracket
The heat-set inserts are used for the four attachment points where the Apolosign bracket connects to the printed mount. I highly recommend using them here since they're supporting a fairly large display.
Printing
The mount is designed to be printed as separate upper and lower brackets. Adjust print orientation and settings to suit your printer and material.
No supports should be necessary for the basic design. I designed this specifically around a 21.5" Apolosign, but the parametric dimensions should make it adaptable to other displays and mounting configurations.
Installation
This design involves installing a recessed electrical box. Follow your local electrical code and use a qualified electrician where appropriate. The printed parts are only the mounting structure. Don't use 3D-printed parts as a substitute for proper electrical components.