
Gosh, it's so dark in here! Join me for a practical introduction to soldering. We'll cover equipment, safety, choosing solder, setting up an iron, and soldering through-hole components.
Safety
- Wear safety glasses. Solder can pop or splatter and cause serious eye damage.
- Use a fume extractor or fan. Rosin fumes can irritate your respiratory system.
- Disconnect power before soldering. Unplug the device or remove its power source before working on it.
Solder Selection
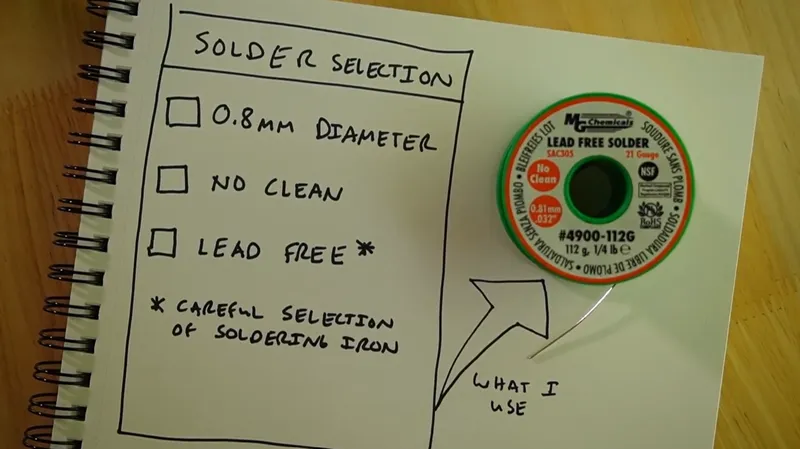
For a practical all-around choice, look for solder that is:
- 0.8 mm in diameter: a useful middle ground for many jobs.
- No-clean: flux additives simplify application and cleanup.
- Lead-free: reducing lead exposure is worthwhile when practical.
You can use the same techniques with leaded solder, too.
Soldering Iron Selection
A 60-watt soldering iron offers a good balance of cost and performance. Leaded solder may work with less wattage. Higher wattage mainly helps the tip maintain its temperature when it touches larger metal parts, which act as heat sinks.
An underpowered iron may need to stay on a joint longer, increasing the risk of overheating components.
Cleaning the Soldering Iron
Keep a brass cleaner or damp pad at your station and clean the tip regularly. If solder starts building up in blobs, wipe the tip before continuing.
The Technique for Good Solder Joints
Set the Temperature
Start around 750°F for lead-free solder or 650°F for leaded solder. Use the lowest temperature that melts solder quickly when it touches a heated joint. Adjust in 50-degree increments; the right setting depends partly on how much metal is connected to the joint.
Heat the Joint, Then Feed Solder
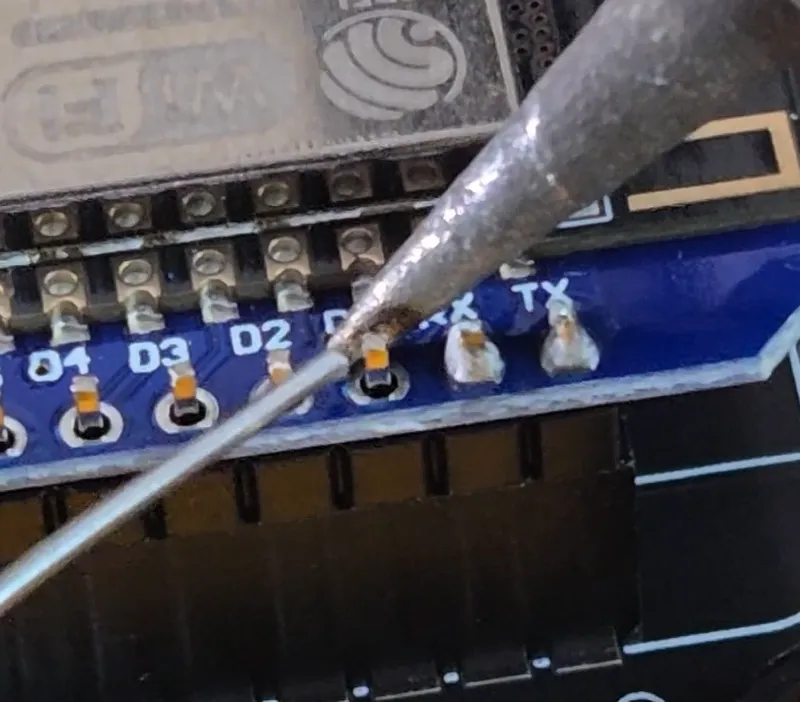
Place the iron against both the pad and the component lead. Count to two, then feed solder into the corner where the iron, pad, and lead meet. Let the heated joint melt the solder rather than melting it on the iron tip.
Aim for a Cone-Shaped Joint
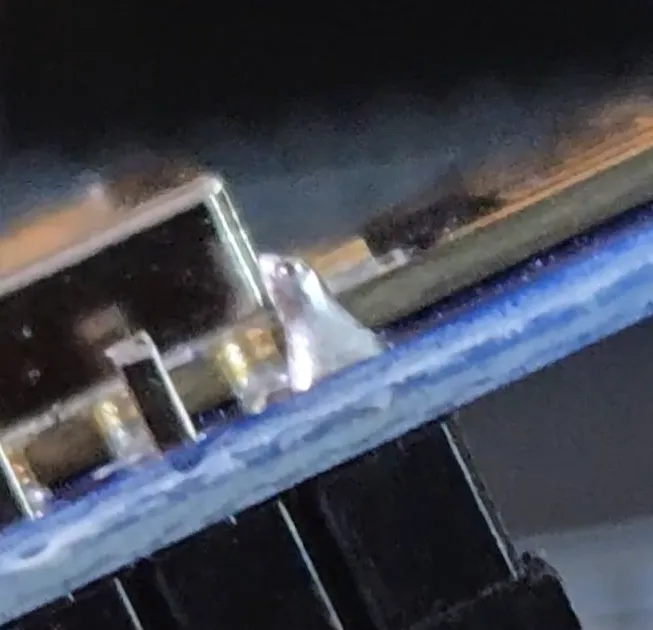
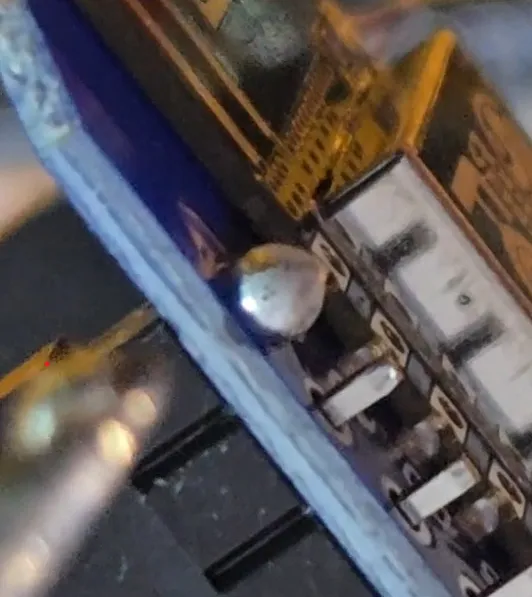
A good joint forms a smooth cone that covers the pad and lead without gaps. A ball-shaped joint may indicate poor wetting or insufficient heat.
What's Next?
Soldering takes practice. My first joints were far from perfect, so use inexpensive kits to practice until the technique feels familiar. Then try a project that builds on the skill, such as adding under-cabinet lights or assembling a small circuit board.
Subscribe to the newsletter or the Widget KC YouTube channel for more tutorials.