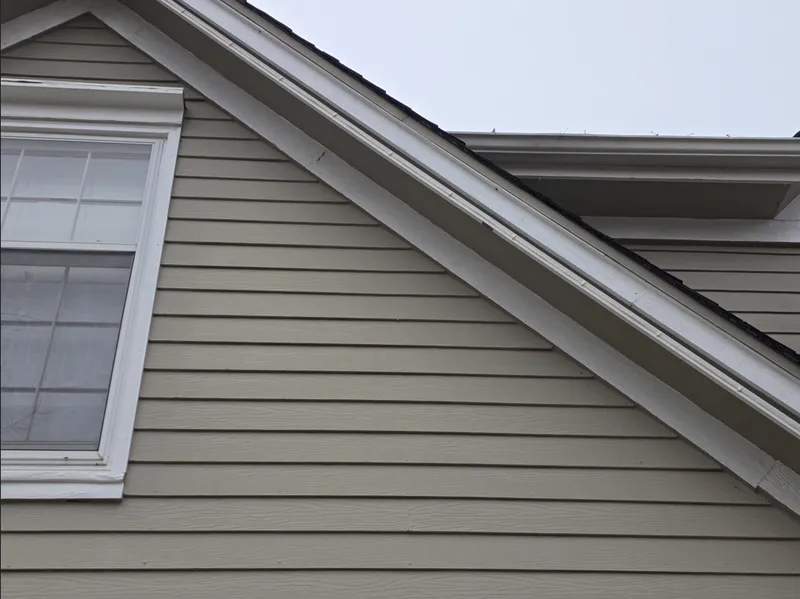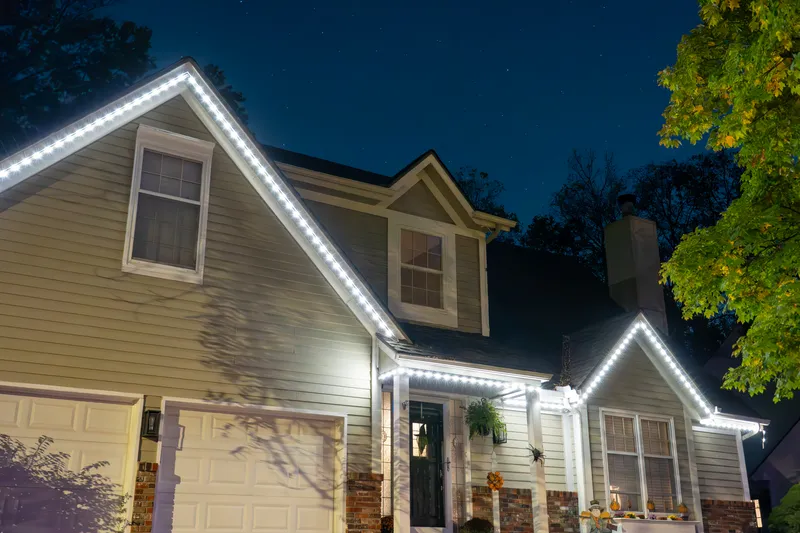
Do you love Christmas lights but dread standing on a ladder in the cold to hang them? This easy-hang setup installs quickly, can stay up year-round, and lets you change colors for Christmas, Halloween, New Year's, or any other occasion. Mine have been up for two years and still look great.
Update: As of November 2026, these lights are still going strong. The initial build described in this article took some time to accomplish but I have been able to benefit from that build for 4 years now. I'd say that's a good return on investment of time.
Overview
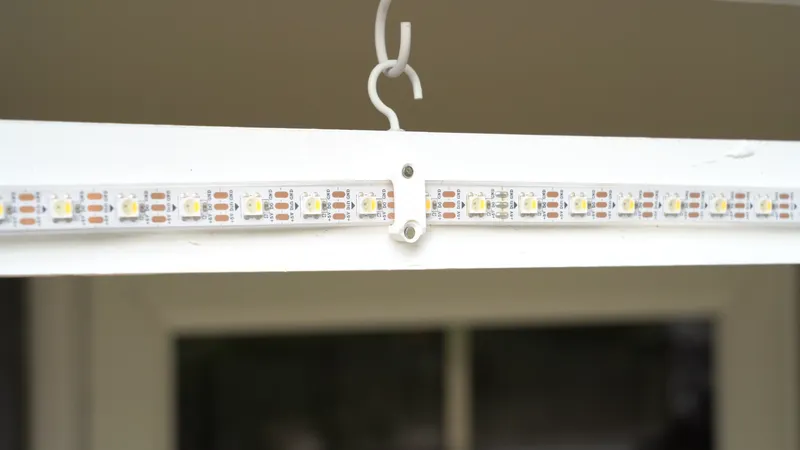
The system uses 1x2 boards (standard furring strips from the lumber aisle), an LED strip, and hooks to hang the lights on a house. Once assembled, you can control the lights from a phone or computer and schedule timers.
Safety Note: This project involves tools, soldering, electricity, and ladders. Take your time, wear eye protection, and use appropriate gear. Double-check wiring before plugging anything in; ask someone experienced if unsure. Size the power supply correctly and include a fuse as described below.
Planning Your Layout
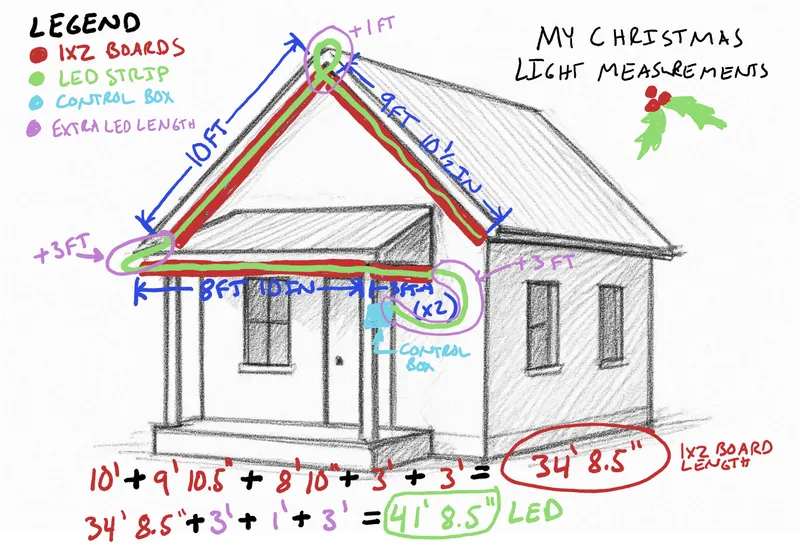
I recommend starting this project by drawing a diagram of your house.
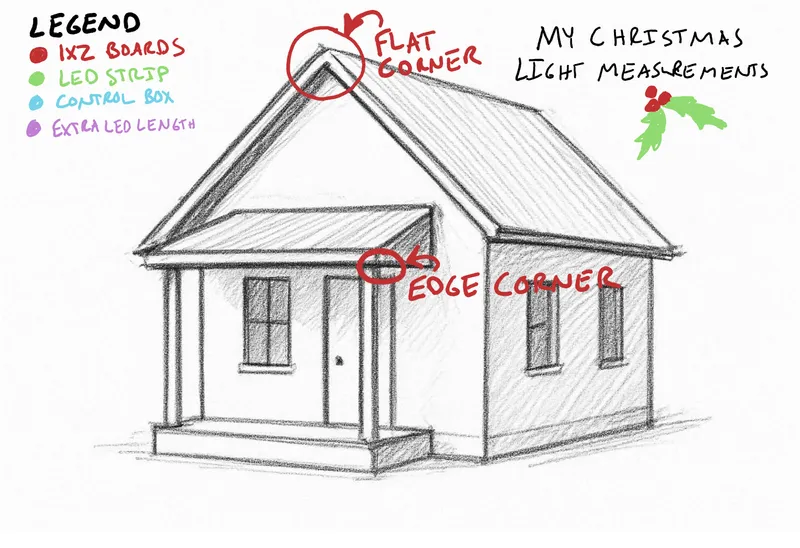
There are two common corner types as illustrated in the image above. Identify the areas where two strips of lights will result in these corner types. These will come in handy later.
- Flat corners: where boards will butt one board straight into the next. Example: A roof peak.
- Edge corners: where boards join edge to edge. Example: A porch.
Find a good sheltered spot for the power supply and control box. From there, sketch the layout and record measurements for the board lengths.
Calculating LED Length and Power Requirements
The LED lengths (shown in green in the image) will be a bit longer than the board lengths because we need to account for a few extra distances:
- Distance from the control box to the start of your first strip of lights
- About an extra foot of strip at each flat corner for a small loop to prevent stress and avoid cutting
- Any gaps between strips of lights, such as a jump from a horizontal run to a run going up a peak
Edge corners do not need any extra length.
I recommend not cutting the LED strip if you can, to prevent areas where water can get into the strip. A benefit of these types of LEDs is that we can disable portions of the LED strip.
Power Supply and Fuses
At full brightness, each LED can draw about 0.08 amps. On an LED strip with 60 LEDs per meter, we'd be talking about 4.8 amps per meter at maximum brightness. This would be too bright for house lights but it gives us an idea of how many amps would be required with all LEDs on maximum brightness.
The program included in this project does the following to reduce how many amps are needed and make the lights look like more traditional holiday lights:
- Only every ninth LED is lit up
- The maximum brightness of each LED is limited to under 0.06 amps
With these settings, I recommend getting a power supply that can provide 0.5 amp per meter or about 1 amp every six feet of lighting. The power supply included in the parts list is 5V 10 amps. This should be good for about 60 feet of lighting.
Fire Hazard: You must use a 5V power supply for these LEDs. Higher voltage than 5V is a fire hazard.
I don't recommend light runs longer than 60 feet. If you need more, I recommend getting another power supply and dividing the lights into two runs. On my house, I have one run going up the garage peak and another run for the rest of the house.
Important: You must install a fuse rated for your power supply (10 amp power supply needs a 10 amp fuse). This protects the strip if a short circuit occurs somewhere along the LED strip. We will show where the fuse goes later in this article.
Building the Control Box
Use an off-the-shelf project box or print one we used for this project.
This project uses the Widget KC Multi-Purpose Output and Input Board.
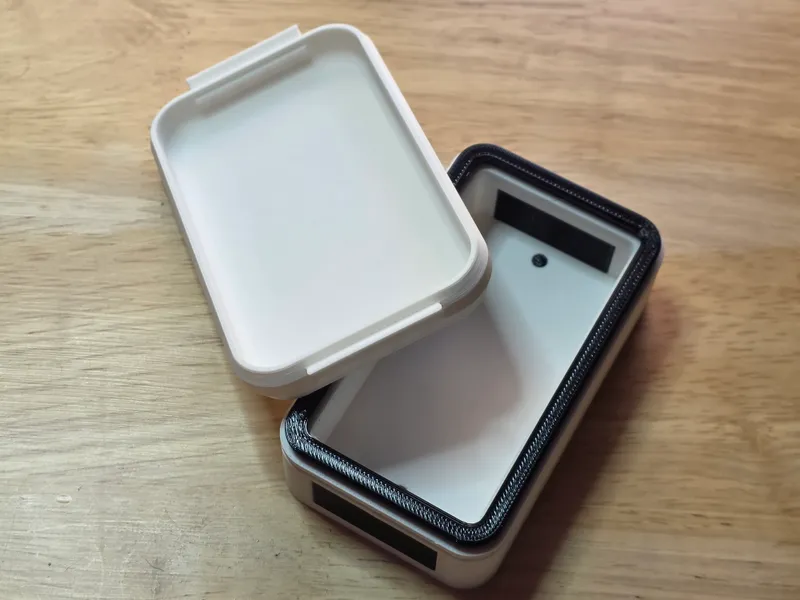
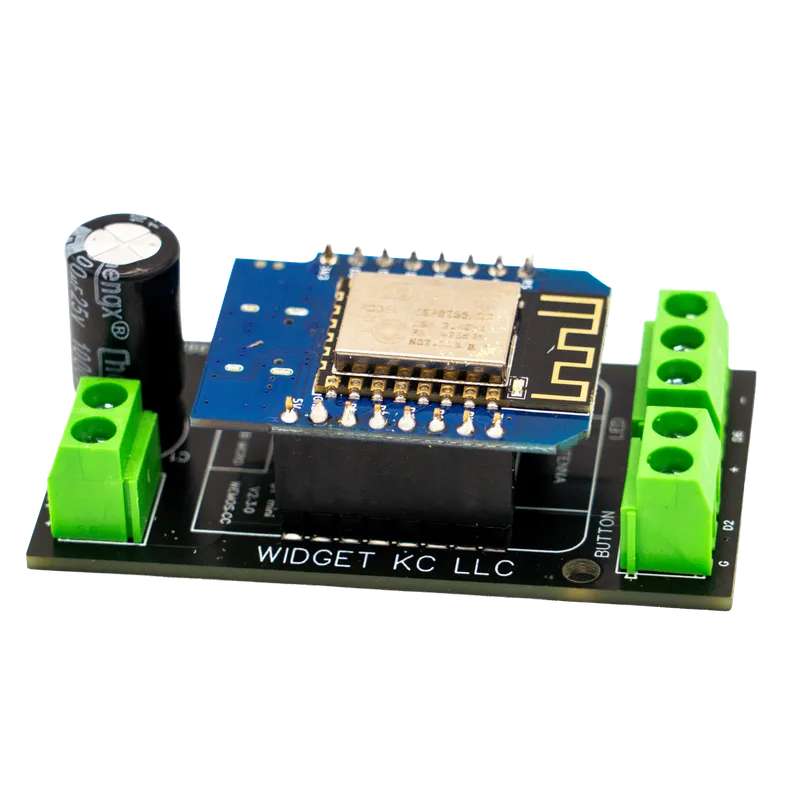
The Widget KC Multi-Purpose Board (5V) Kit does require some soldering. Check out our soldering tutorial if you haven't done much soldering.
Assembly Steps
1. Prepare the Boards
Cut the 1x2 boards to length.
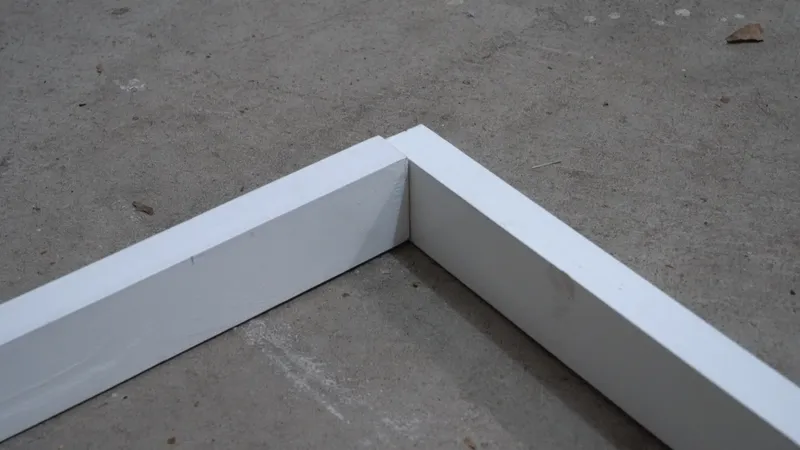
At flat corners, notch one board so the LED strip can loop through a gap between the two boards as seen in the image below.
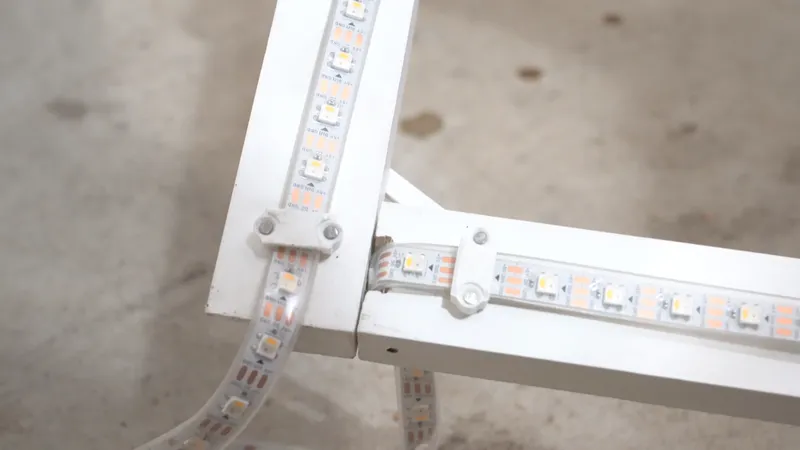
For edge corners, no cutting is required where they join. Just join the boards edge to edge as seen below.
2. Install LED Fasteners
Place electrical staples or LED clips about every foot and a half along the strip. The clips should result in a snug fit but with some ability to slide the strip to adjust positioning later.
3. Add Corner Brackets
At flat corners, install brackets on the back to form an A shape.
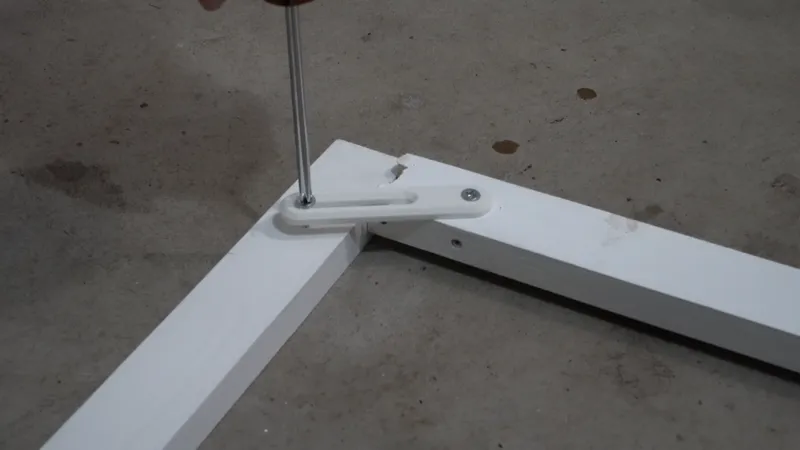
At edge corners, loosely attach both boards to the bracket so they can move freely.
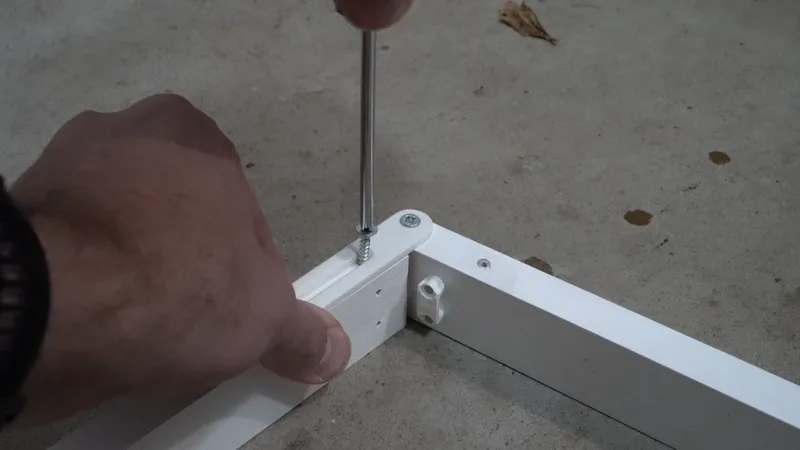
You can find the corner bracket in the downloads list on this page.
4. Install Mounting Hooks
Install hooks every six feet along the boards. Hold each board against the house, mark the positions, and install matching hooks on the house.
5. Feed the LEDs
Pull the LED strip through the fasteners. At flat corners, loop about 20 LEDs through the notch.
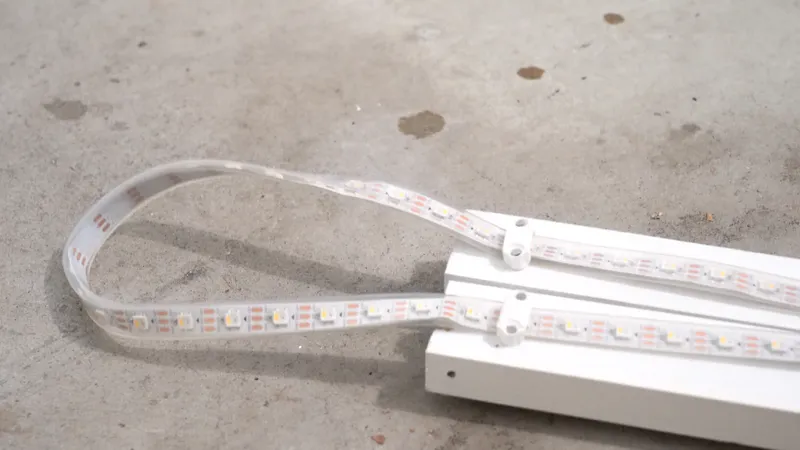
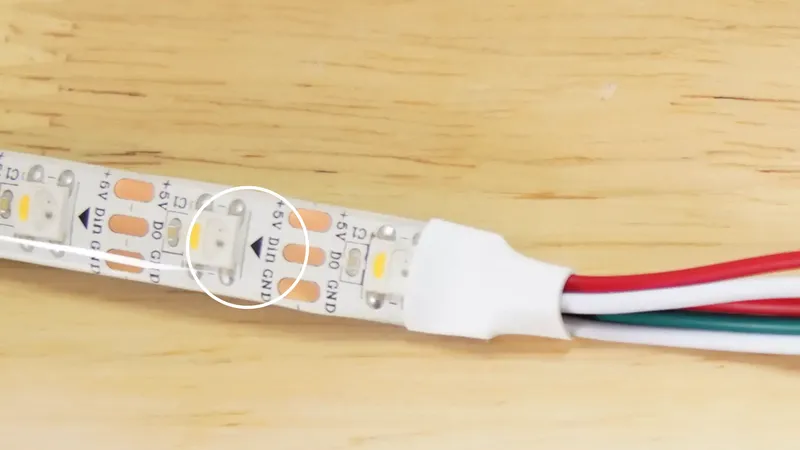
Make sure the arrows point away from the control box, in the direction the strip runs — otherwise the LEDs won't light.
Wiring
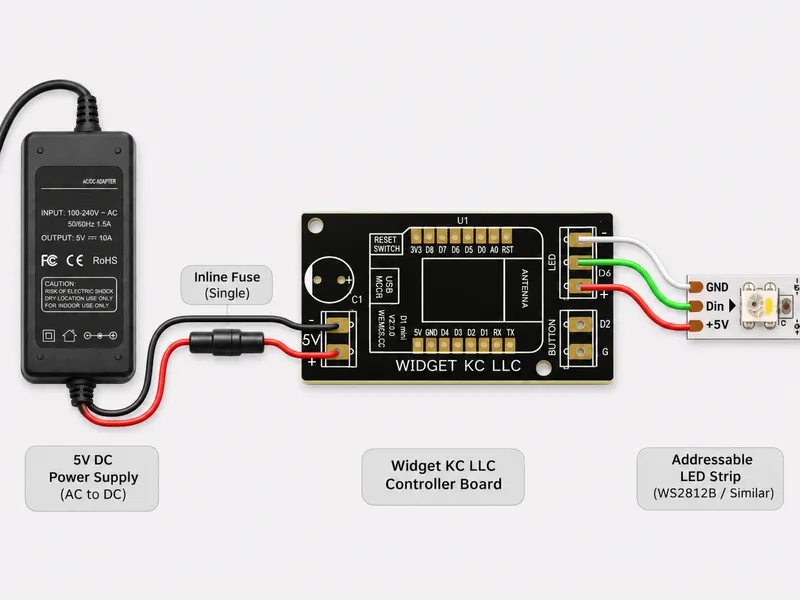
Mount the Multi-Purpose Board in your project box and feed the wires into the box. Next, we'll make the required electrical connections to the LEDs and power supply.
LEDs
Ensure the following:
- Red to the positive "+" terminal on the circuit board
- White to the negative "-" terminal on the circuit board
- Green signal wire to the "D6" terminal on the circuit board
Power Supply
Important: Make sure the power supply is not plugged in for this step.
Identify the end that does not plug into the wall — it ends in a round barrel connector. Cut the round plug off the power supply and strip the insulation to expose about 1/8 in of bare wire on each of the two wires inside.
Run the wires through the project box hole and into the Widget KC Multi-Purpose Board (5V).
Ensure the following:
- Red wire (from power supply) → Fuse → "+" terminal on the circuit board
- Black wire → Negative "-" terminal on the circuit board
Important: You must include a fuse between the power supply and the project box. It should be rated at the same power as your power supply. These lights will face weather and possibly curious wildlife. It is important to have a fuse to protect from short circuits.
Your wiring should look like the image below. Note that the connectors and blue ESP microcontroller are not shown for clarity.
Seal the LED strip ends and project box holes with silicone glue to ensure a water-tight seal.
Installing the Program
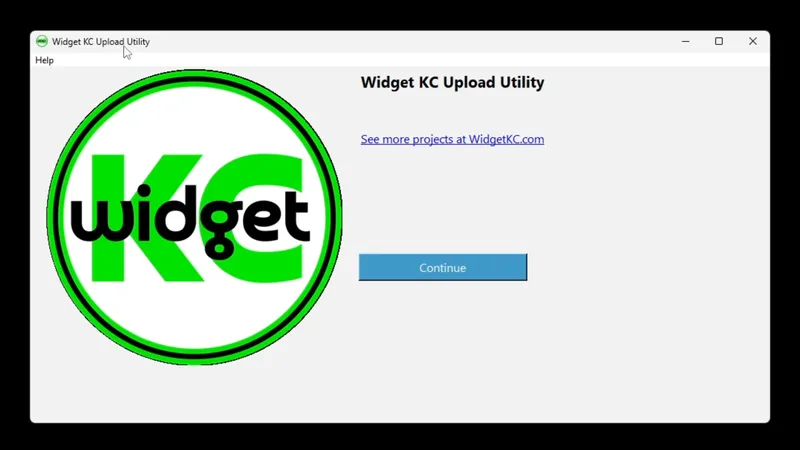
Launch the free Widget KC Upload Utility, choose a program such as Christmas Lights - Kansas City Edition, then remove the blue eSP microcontroller from the board and connect it to your computer over USB-C when prompted. The upload will start automatically and takes about a minute.
After uploading, leave the board connected to your computer. You should see a new wireless network named Christmas_####. Connect to the network with a phone or computer and complete the WiFi configuration page, which should appear automatically. Give your device a memorable name without spaces, such as lights.
After completing setup, you should be able to access the light control page from a device on your network by entering http://lights in a browser.
If the WiFi configuration doesn't appear automatically, open a browser on the device connected to the Christmas_#### network and enter
http://192.168.4.1to reach the configuration page.
Configuring Your Lights
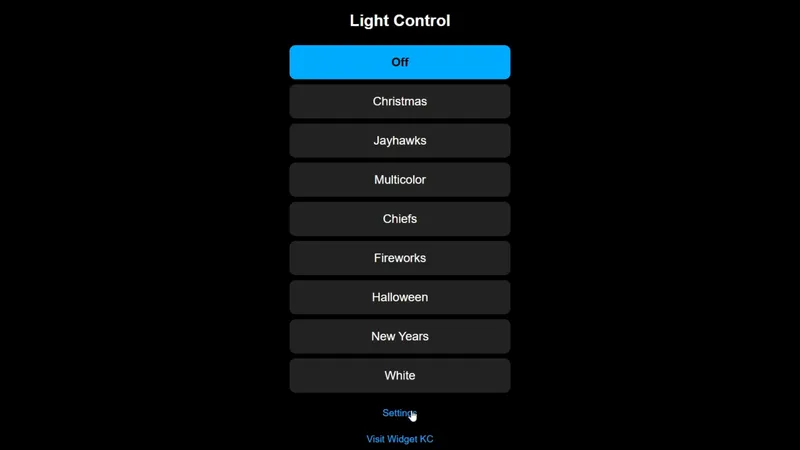
The web interface lets you set on/off times, choose a pattern, and enable or disable the timer. You can exclude sections of the strip, such as LEDs 0-20 between the control box and the first lit LED, or LEDs 120-140 in a corner loop. Save the configuration. Once done, you can unplug the blue ESP microcontroller from the computer and place it back on the circuit board. Direction matters here so verify you have it placed on teh circuit board appropriately.
Plug in the power and you are all done!
Enjoy Your Easy-Hang Lights
Use the browser to control their color and pattern for Christmas, Halloween, a backyard party, or any occasion.