
Why This Calendar Earned a Permanent Spot
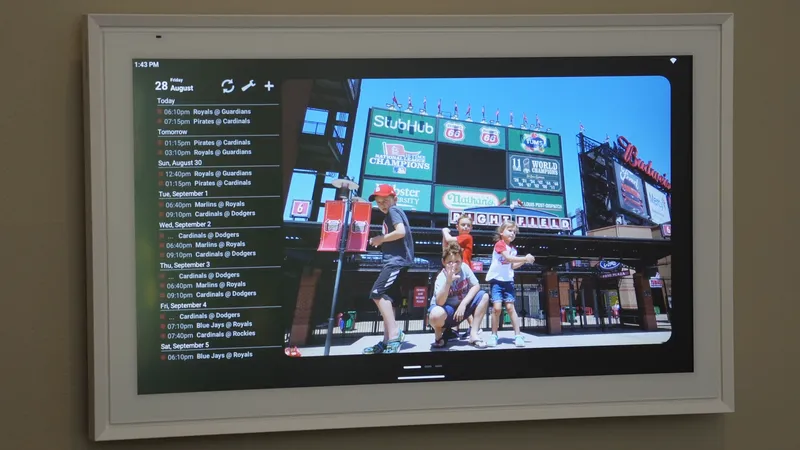
About a year ago, I bought a 21.5-inch Apolosign Digital Calendar for our family. After living with it for a while, it had done the difficult thing that many pieces of technology fail to do: become useful enough that everyone actually wanted to keep using it.
At its most basic, it's a family calendar and digital photo frame. It can be mounted horizontally or vertically, and Apolosign provides its own collection of apps for organizing schedules and family activities.
The feature I like most, though, is system mode. Instead of limiting the display to Apolosign's calendar software, system mode essentially turns it into a large Android tablet. That means we can install school apps, sports apps, and other things our family already uses. It can even display ordinary web pages.
A browser mounted to the living room wall turns out to be surprisingly convenient. Someone can quickly look something up without disappearing onto a phone for the next 45 minutes. It's useful, but just inconvenient enough that nobody wants to stand in front of the wall browsing all afternoon.
It also gives us a place to display family photos, periodically reminding us that the kids used to be much smaller.
The Problem Behind the Screen
Apolosign already includes the hardware needed to mount the calendar. Install the supplied bracket on the wall, magnetically attach the display, plug it in, and the job is finished.
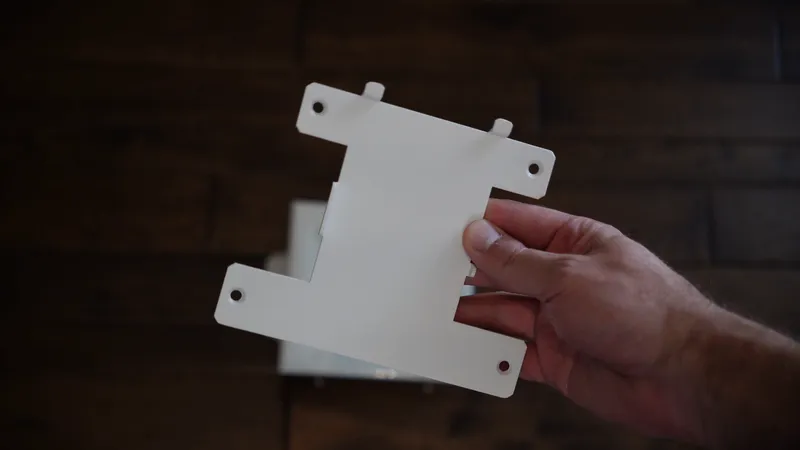
Except for the power cord.
If I were going to permanently mount a screen to the wall, I wanted the installation to look permanent too. I bought a recessed electrical box so the outlet, power adapter, and excess cable could live behind the display instead of hanging below it. That solved most of the problem.
The calendar could simply be mounted beside the recessed box, but depending on the viewing angle, part of the electrical box could still peek out from behind the screen.
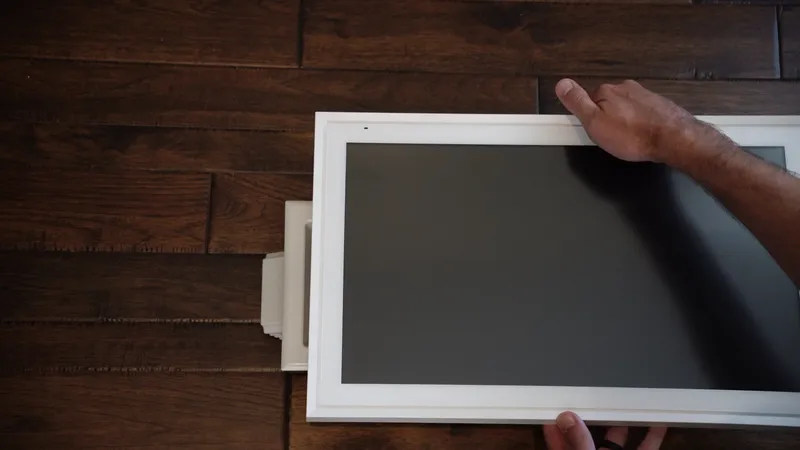
Would this have been an acceptable installation? - Yes.
Would most people have noticed? - Probably not.
I had noticed though.
Adapting the Factory Bracket
The requirements for the new part were pleasantly short:
- Attach to the recessed electrical box.
- Provide mounting points for the original Apolosign bracket.
- Position the calendar so it fully covers the electrical box.
- Keep the existing magnetic mounting system intact.
I measured the recessed box and the mounting points on the factory Apolosign bracket, then modeled an adapter that connects the two. There's nothing exotic about the geometry. It's a bracket for another bracket, and that's exactly the kind of job where a 3D printer is useful.
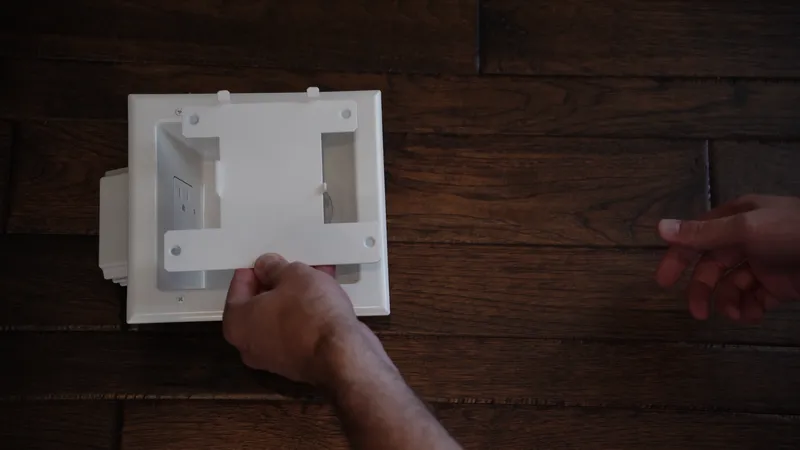
I could have fabricated the adapter from wood or metal, but either option would have created substantially more cutting, drilling, cleanup, and opportunities to discover that I had measured something incorrectly. Printing the part meant I could model the mounting geometry, send it to the printer, and get a purpose-built adapter with very little mess.
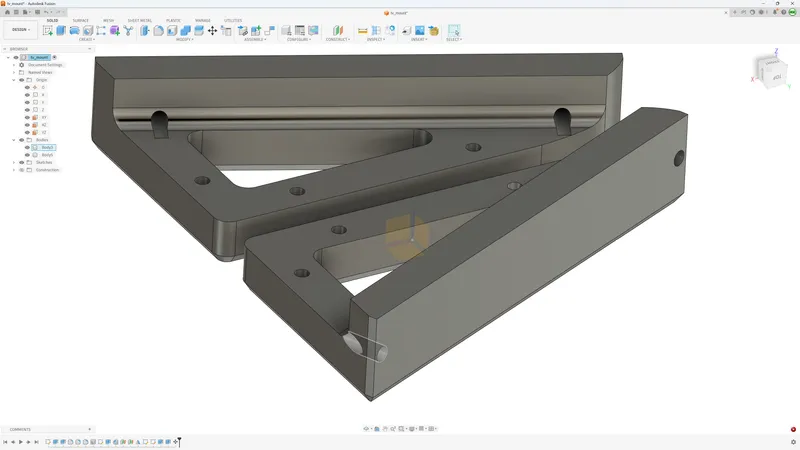
Making It Parametric
I also made the model parametric. That term sounded more intimidating the first time I encountered it than it actually is. In this case, it simply means that important measurements are stored as adjustable dimensions.
If another recessed box has slightly different dimensions, or the mounting posts on another Apolosign installation are positioned differently, those values can be changed without redesigning the entire adapter. If your hardware matches mine, there's nothing to adjust. Just print the model. If it doesn't, the adjustable dimensions give you a much better starting point than rebuilding the bracket from scratch. The values are exposed through MakerWorld's Parametric Model Maker, so you can change them in the browser without opening CAD software.
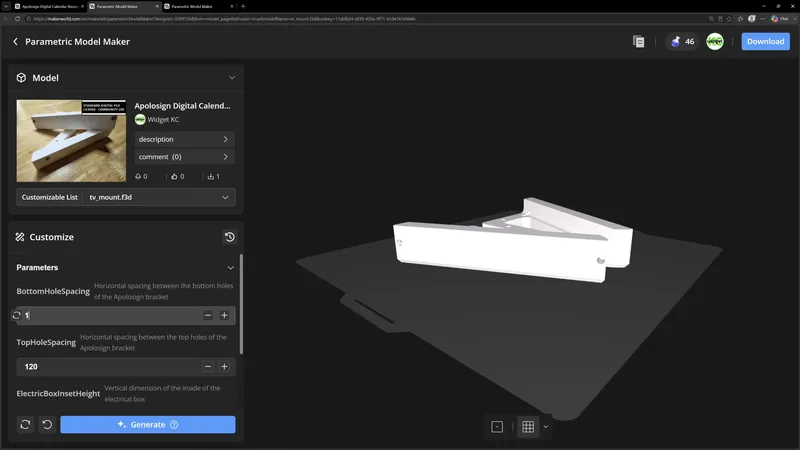
Printing the Adapter
Once the design was finished, I sent the parts to the 3D printer.
This is one of my favorite uses for 3D printing. The finished object is just a functional adapter that disappears behind another product when the installation is complete. But that's the point. The printer lets me make the missing piece between two existing products instead of changing the entire installation around whatever hardware happens to be available.
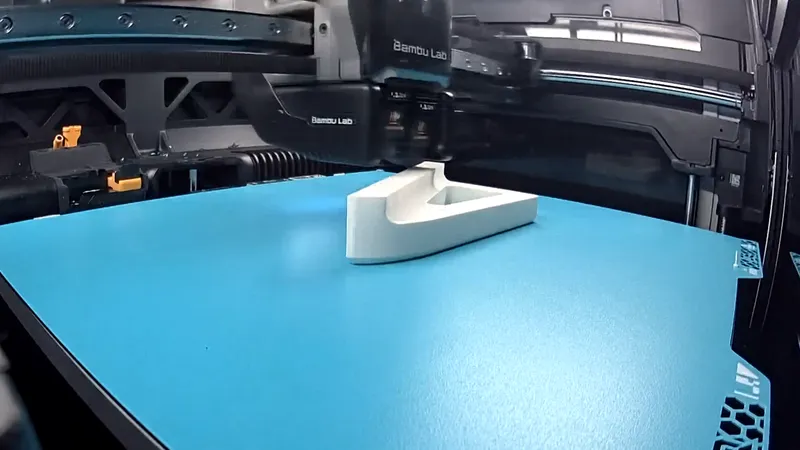
Installing the Hardware
The recessed box uses four clamps that tighten against the back of the wall. Because those clamps secure the box after it's inserted, the printed adapters need to be installed before the box goes into the wall.
I marked the mounting holes and drilled them for the adapter hardware.
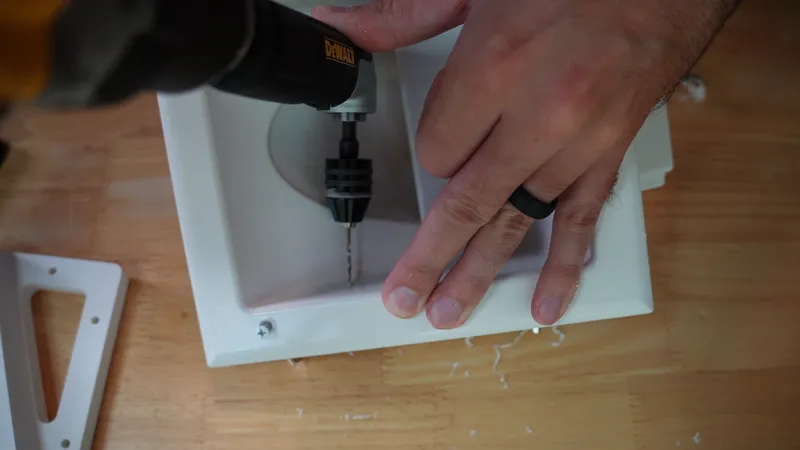
One of my original holes ended up a little too close to the structure of the electrical box. In engineering terminology, this is called version one. I corrected the hole position in the model so the downloadable version doesn't require everyone else to participate in that particular learning experience.
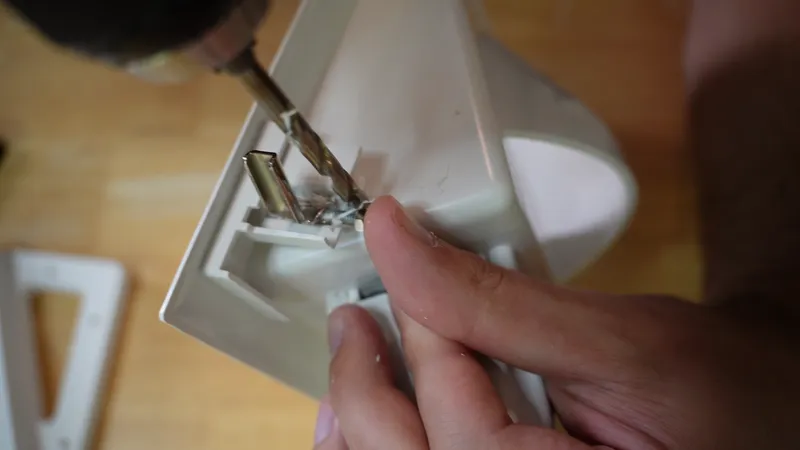
For the printed adapter itself, I used M4 bolts. They're large enough for many of my functional printed projects without being unnecessarily bulky, and standardizing around one common size means I don't need to operate a small hardware store in my basement.
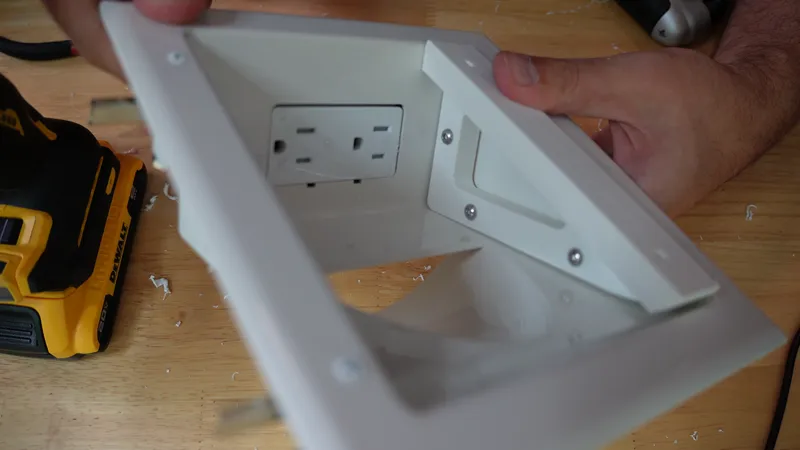
Heat-Set Inserts for the Calendar Mount
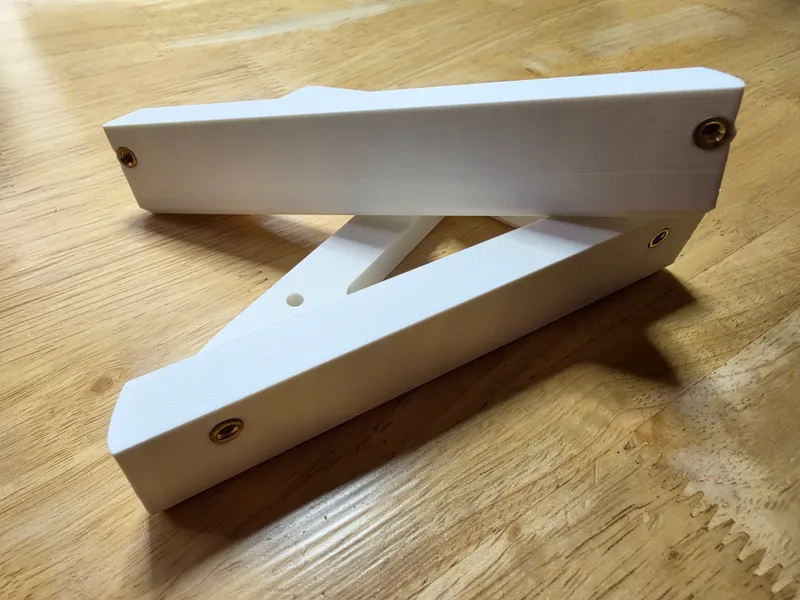
The four mounting points for the factory Apolosign bracket use brass M4 heat-set inserts.
There are plenty of printed projects where I consider heat-set inserts optional. A screw threaded directly into plastic can work well when the loads are small and the joint rarely needs to come apart. This wasn't one of those projects. The bracket is supporting a 21.5-inch display on the wall, and spending another few minutes installing proper threaded inserts seemed like a reasonable trade.
Using a soldering iron, I heated each insert and pressed it into its designed pocket in the printed adapter. Once cooled, the inserts provide durable metal threads for the bolts holding the factory bracket.
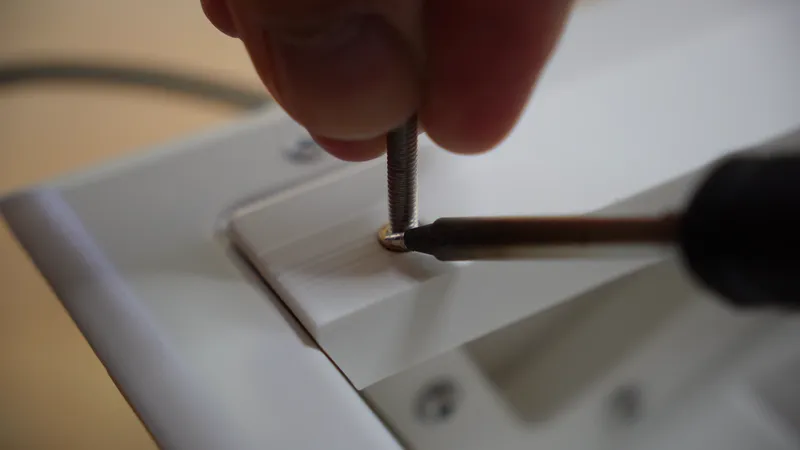
Caution: Heat-set inserts and the tip of a soldering iron get hot enough to cause burns and damage nearby surfaces. Work on a suitable surface, keep the iron under control, and allow the inserts to cool before handling the part.
Keeping the Spiders Out
Before putting the recessed box back into the wall, I added electrical tape over the unused low-voltage access. This helps reduce drafts through the opening. It also discourages spiders.
I don't have a particular problem with spiders living in the house. I just don't feel obligated to build infrastructure for them.
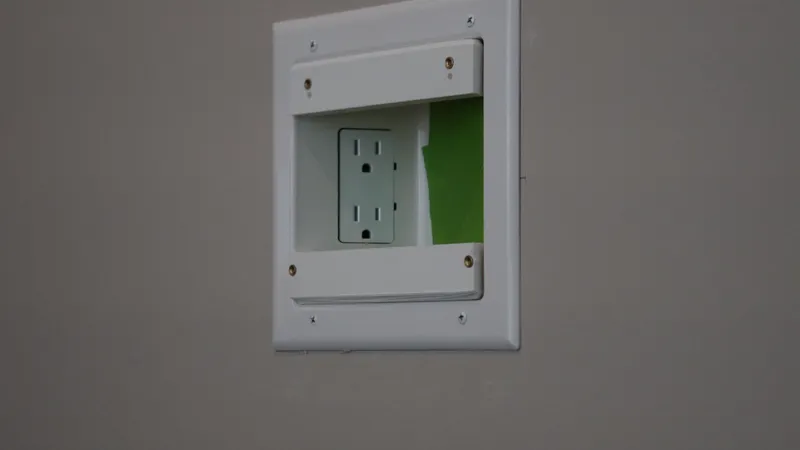
With that important piece of facilities management complete, the recessed box could go back into the wall and the printed adapter could be secured in place.
Electrical Work Is Not the DIY Part
The printed adapter is a straightforward DIY project. Installing or modifying an electrical outlet is a different category of work. If you're installing a recessed electrical outlet in your home, follow the electrical codes and requirements that apply in your area and use a qualified electrician where required.
The DIY portion of this project is the 3D-printed mounting adapter, not household electrical wiring.
Installing the Original Bracket
With the recessed box secured in the wall, I attached the original Apolosign mounting bracket to the heat-set inserts in the printed adapter. From there, the installation goes back to working as Apolosign intended. The calendar magnetically attaches to its factory bracket, except the entire assembly is now positioned directly in front of the recessed electrical box.
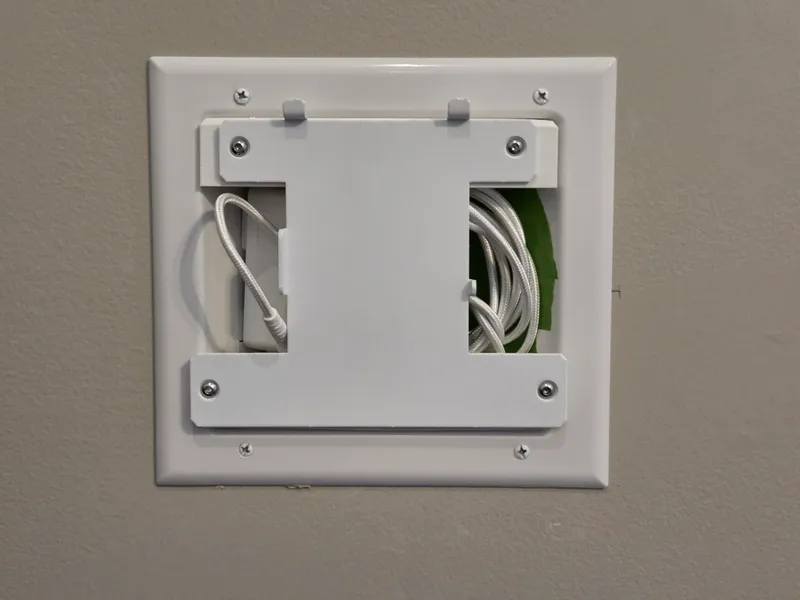
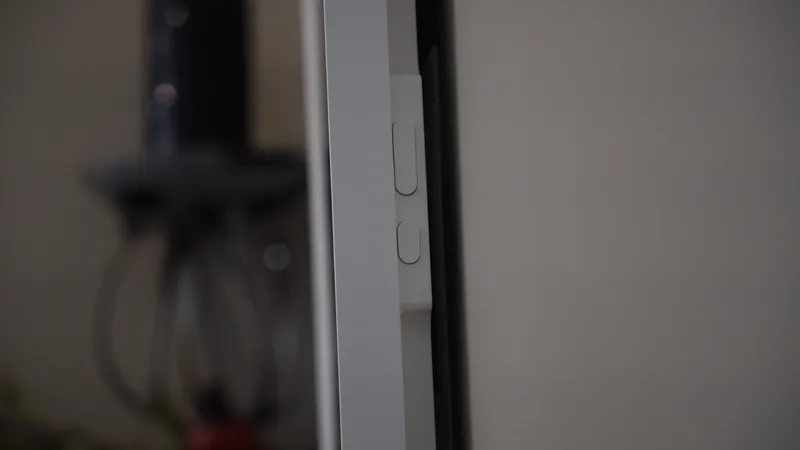
The display covers the box, the power cable is hidden, and from the side, there's no electrical box peeking out from behind the screen.
A Bracket Nobody Needs to Notice
The finished printed part isn't fascinating to look at. It's a bracket. It took an evening to design. Once installed, it disappears behind the calendar and ideally nobody thinks about it again. That's what I like about it.
The adapter let me take something our family already enjoyed using and install it where and how I wanted it. I got some CAD practice, made the model adjustable for other installations, and avoided compromising the finished appearance because two unrelated pieces of hardware didn't quite line up.
The Apolosign is now doing its calendar thing wonderfully. My family likes having it in the living room, the power cable is hidden, and I no longer have to stare at the corner of an electrical box that may have only bothered me.
A successful evening, by the standards that matter.